For most weddings and special events, there will be many photographs being taken of your client. Especially for events where photos are a large part of the occasion, it is essential to know how your makeup will photograph. If you’re putting all the work into creating a flawless makeup application for your bride or client, you want it to show up just as beautiful in the photos.
Also Read:
- Lips, Cheeks and Brows – All You Need To Know
- Eye Makeup Tips and Tricks – A Beginners Guide
- Get Ready For Natural Face Makeup – A Step by Step Guide
Here we’ll dive into some of the most important things to know when doing makeup for photography.
Face Makeup for Photography
Since you are now an expert on creating the perfect face for your client, it is critical to know a few important tips to ensure that flawless face transfers beautifully in photos. There are a few key things to know when it comes to face makeup, and we will dive deeper into those areas here.

a) Foundation: When choosing a foundation to use for photographs, you want your foundation to appear as accurate on camera as possible. Unfortunately, there are a few ingredients and foundation types that do not photograph well.
Avoid foundations with SPF in them, as one of the key ingredients can appear white in photos. Similarly, some mineral foundations can cast an unnatural “glow” over the face when photographed. Ever notice photos where the person’s face seems surprisingly white compared to the rest of their body?
That is likely because they used a foundation that was not optimized for photography. If you have clients who are extremely concerned about their foundation in photographs, opt for a foundation labeled “photo ready” or “HD” to ensure it’ll reflect well in photos.
b) Powder: Photography, especially if there is a flash, will pick up on any reflective part of the face. If there is any oil on the face it will be accentuated in photos, which most people do not prefer. To combat this, be sure to set your foundation with a matte powder (either pressed or translucent) to remove any shine or oil.
If you are looking to take it one step further, use oil absorbing blotting papers to remove any oil without needing to reapply more makeup.
c) Bronzer: Photography can wash out much of the structural definition of the face, so contouring with a matte bronzer is very important to keep that definition in photos. Use an angled brush with a matte bronzer, and apply anywhere you would like to preserve the definition of your face.
Typically, this includes the hollows of the cheeks, temples, jawline and sides of the nose. You can contrast this by adding highlighter to further accentuate the face’s definition.
d) Blush: Since we already know photography can wash out the definition in the face, the same applies to colour. You want to ensure your bride or client keeps some colour in their face in photos, and blush will be critical in achieving this. When applying makeup for photography, apply a colour that will provide a natural flush to look like a healthy glow on camera.
You may need to choose a deeper colour than normal, but you still want your client to look beautiful in person so don’t overdo the colour.
Eye Makeup for Photography
In photography, it is important to play up the eyes to ensure they don’t get lost in the photograph. You will want to choose appropriate colours and finishes for your event, to make your photos look as flawless as possible. It’s also important to use best practices for eyeliner and mascara, to complete the full eye look.
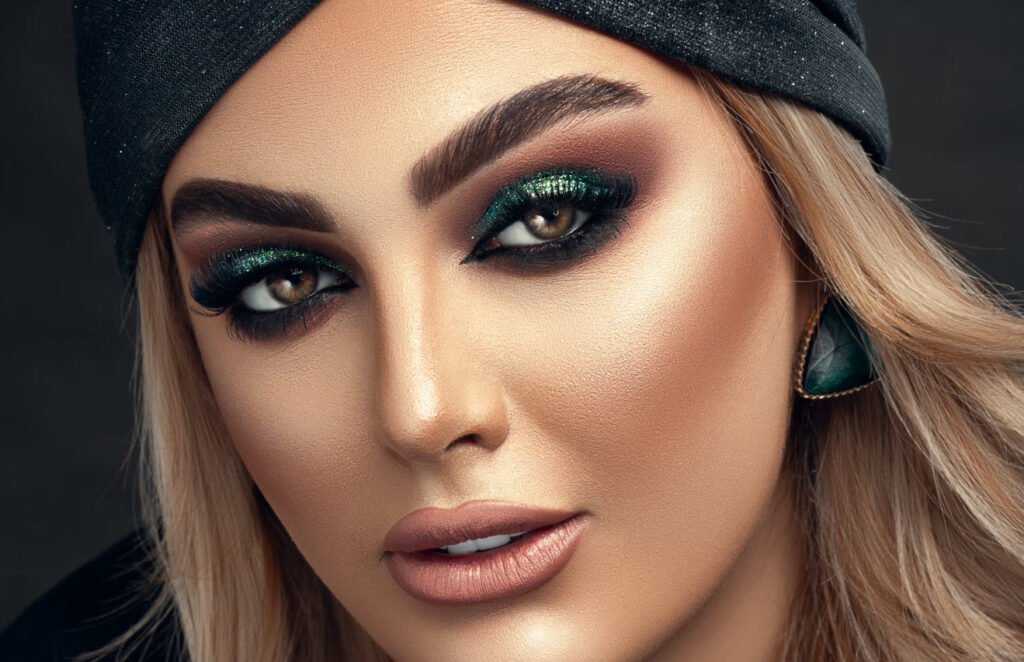
a) Eyeshadow: When applying eyeshadow for photography, it is critical to make the eyes stand out. Avoid using too much shimmer or glitter in photos, as it can look unnatural or distracting. Instead, opt for matte and satin finishes to enhance the eyes while translating well to photos.
Choose colours that are neutral and timeless, rather than flashy or trendy. Your bride or client may think they want the “colour of the moment”, but if it seems like a colour that will be dated in five years it is not the best choice. Be sure to blend as much as possible, to avoid any harsh lines that may be picked up by the camera.
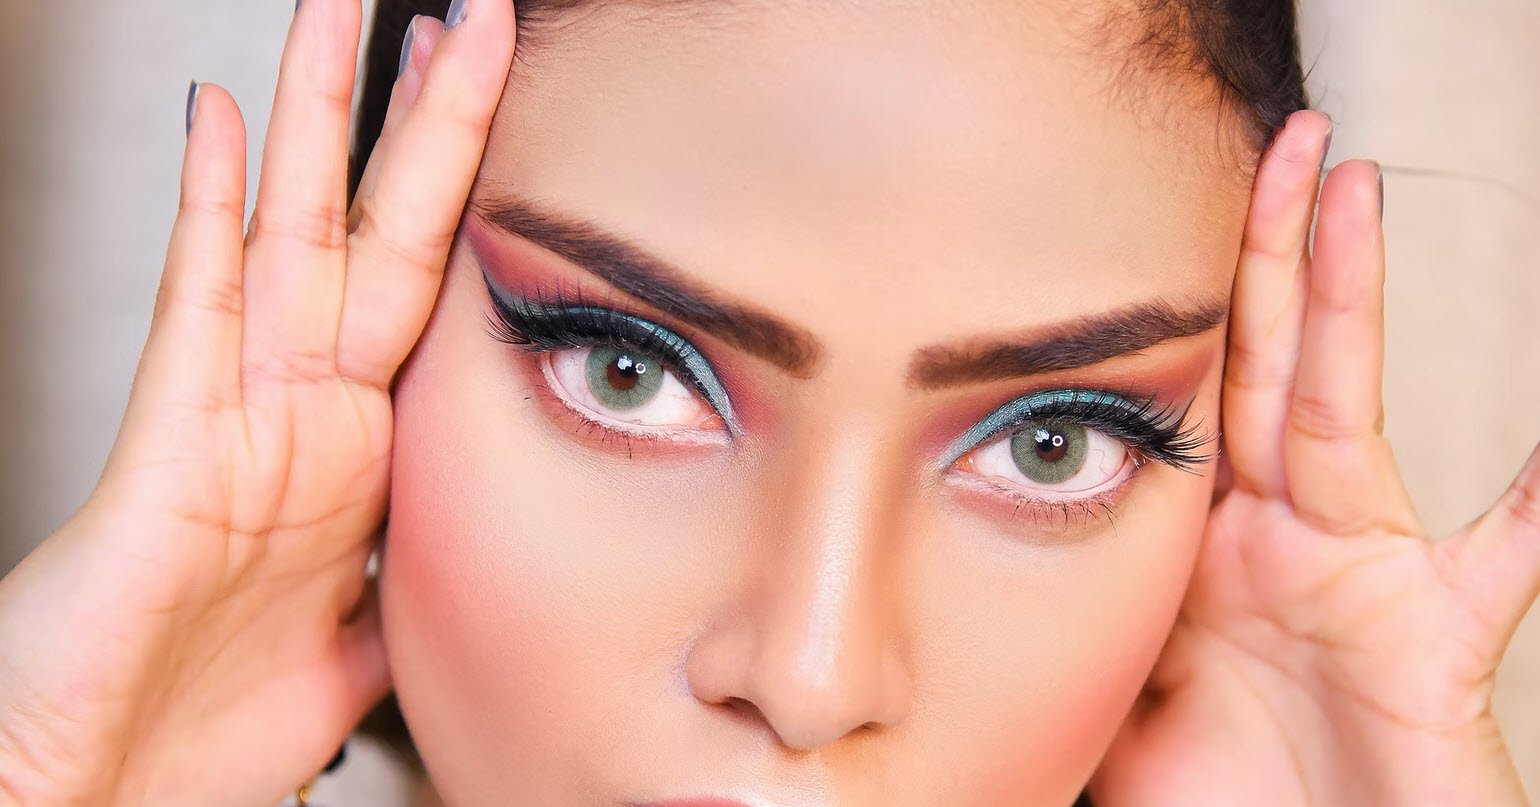
b) Eyeliner: When it comes to eyeliner and photography, there is a fine line that must be towed carefully. You want to define the eyes and enhance the lash line, but too much eyeliner can actually make the eyes look smaller in photos. To achieve the perfect look, go for a thicker line on the top in a black or brown colour.
Tightline the upper lashline in the black or brown, but instead use a nude or white coloured liner on the waterline. This will make the eyes appear larger, and also prevent any redness from showing in the photos.
c) Mascara: For photography, having a defined and thick lash line can really enhance the eyes. This would be a perfect opportunity to apply false eyelashes, along with a great mascara. Follow the information listed in module two, but consider using a more natural looking false lash for photos. If it is too heavy, it can shrink the appearance of the eyes in photos, rather than enlarging them.
You may also like:- 10 High-ROI Activities to Accelerate Your Career and Live a Happier Life
- 22 Powerful Open-Ended Questions to Ask a Woman
- 10 Rules That Will Make You Dangerously Confident
- 10 Dangerous Signs of Weak Men
- 50 Masculine Truths 98% of Men Don’t Know
- 13 Fashion Tips To Make You More Appealing To Women
- 12 Things a Father Must Say and Teach to His Son
- 26 Signs You Might Be a Sigma Male
- 17 Psychological Tricks of a Bad Boy That Instantly Hypnotize Any Woman
- 15 Ways to Be the Best at What You Do